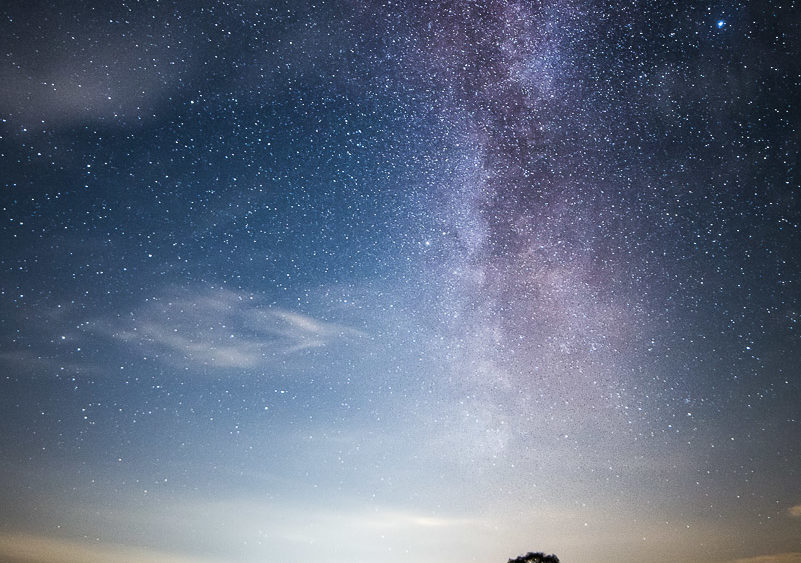
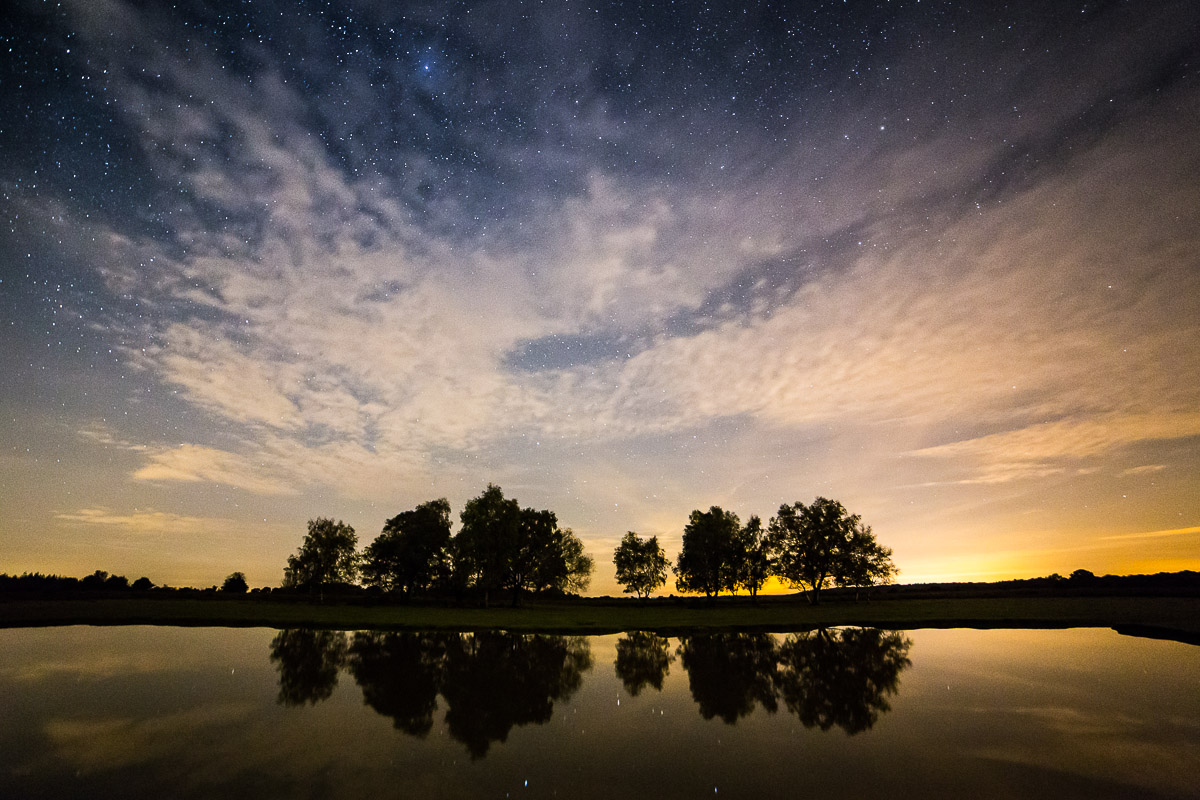
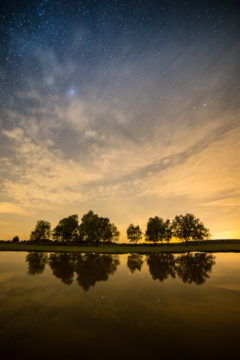
Following a trip to Iceland where I photographed the Northern Lights, I started to develop an interest in photographing the stars. I’ve always liked long exposure photography, both during the day and night, so I started to read up on how best to capture photographs of the night sky full of stars. I’m not going to repeat a lot of what I read in this post, particularly since I’m still learning and so hardly qualified to write tutorials on the subject. Instead I will share my experience of my first serious attempt to photograph a star filled sky, some examples of which are below.
After a lot of reading on which lenses were best, I purchased a used Samyang 14mm f/2.8 from mpb.com for £230. I tend to buy used lenses now anyway and particularly in this case as I didn’t want to spend a fortune just in case I didn’t end up using it a lot. Something I agonised over for a while was whether to spend a bit more on a faster lens and was looking at the Samyang 24mm f/1.4 which can be picked up for around £480 (or less if you can find a used one). The advantage of having a lens with a bigger aperture is that it will pick up more ambient light allowing you to capture the same amount of light as a slower lens with a shorter exposure time; this is important if you want your stars to remain sharp and not blur due to the fact the earth is moving causing star trails. When in Iceland I discovered this when shooting with the 24-105 f/4 where it becomes impossible to capture the stars without them blurring / trailing because of the long exposure time.
You might therefore wonder why I chose the 14mm f/2.8. Three reasons mainly (1) 14mm provides a much wider field of view so you can capture more of the sky, (2) I shoot with the Canon 6D and so the high ISO performance is good and (3) I already own a 24-105 lens and thought a 14mm lens would open up more opportunities for different types of photography.
I received the lens yesterday and took some test shots indoors. The field of view is crazy wide compared to the 24mm I’m used to. As you would expect there is some distortion but nothing out of the ordinary for an ultra wide angle lens. The sharpness is excellent and is better than the edges as with any lens. If you want to do pixel peeping and compare the edges of this lens with others then there are plenty of other articles out there that cover that. I personally accept that the nature of these lenses is that the corners will be softer. The lens is manual focus only, which I was slightly apprehensive about but I need not have been. I found it easy to get the focus right even at f/2.8 when the depth of field is shallower. It’s worth remembering that when shooting things at distance the focal point is slightly more forgiving.
I took the lens out to the New Forest last night to get away from city lights and just hoped the sky would stay clear enough to be able to see some stars. I went to a location I’ve been to several times before and would recommend to others to make sure they visit areas in the day first as finding them in the pitch black is more challenging! I used a torch to reach my spot and set up and then turned the torch off to let my eyes adjust.
As I’m sure you will read in many other articles, focusing and composing shots at night is challenging! I had the lens set to f/2.8 so that it would let as much light in as possible, cranked the ISO up to 256000 and set a long exposure to preview the scene in Live View, which was completely black. I tried shining a torch on the trees ahead to help focus but that didn’t work. In the end good old trial and error won. I pointed the camera at the scene (on a tripod obviously), set the focus to just before infinity and shot a number of exposures until I got the exposure right. Once I had the exposure time right, I played back the image in the camera and zoomed in to check the sharpness. I nailed it first time, which was perhaps a bit of beginners luck, but I also think photographing things far away with a 14mm lenses is going to be a bit more forgiving; kind of the opposite of macro where if you get the focus slightly wrong the whole shot is out of focus.
Once the exposure was right I could also use this as feedback on the composition and move the camera to make adjustments. I did also use exposure bracketing to capture two extra frames, one -2 stops and one +2 stops to make sure I got the shot I wanted. I also used exposure compensation to alter exposure times for the sets of images.
For a first attempt I was very pleased with the results. The lessons I have learnt about this lens and shooting starscapes are:
- When people say don’t worry about it being a manual focus lens, believe them, you can’t see anything through it when shooting in pitch black anyway.
- 14mm gives a great field of view, especially on full frame, which is great for starscapes.
- First impressions are that f/2.8 works very well on a 6D at ISO 3200 / 6400 to capture stars.
- This lens does indeed control coma very well. Coma is where stars don’t appear circular and some vastly more expensive lenses control this as well.
- A clear night and getting away from city lights is essential for good results. I also think later at night would be even better when the night sky will be even darker and stars more visible.
- Go easy on noise reduction in post processing as it will make the image soft and may remove stars.
- Using ND grad filters in Lightroom to adjust the sky works well. Pushing the clarity setting high really brings them out.
I’m very pleased with the choice of lens and the first results as shown in the gallery. I’m looking forward to getting back out there and shooting some other locations.

Comments are closed.